I am often asked how I create a transparent watercolor of a botanical subject that has that "magic", so I will go through the steps that I take.
My subject is a marvelous pinkish mutant variety of the lovely Cereus Peruvianus that we have had for many years in a big pot by our back door. Its stunning fragrant flowers only bloom for but one night and one day in the late summer , and always cause me to stop in my tracks to gaze in awe at its ephemeral beauty.
1. I start with some sketches of the flower, and then proceed to a value sketch: a study in shades of gray. This step is essential! In the final painting, the colors are much less relevant in the design than the design of value blocks. Try several thumbnail sketches to nail down the best design.
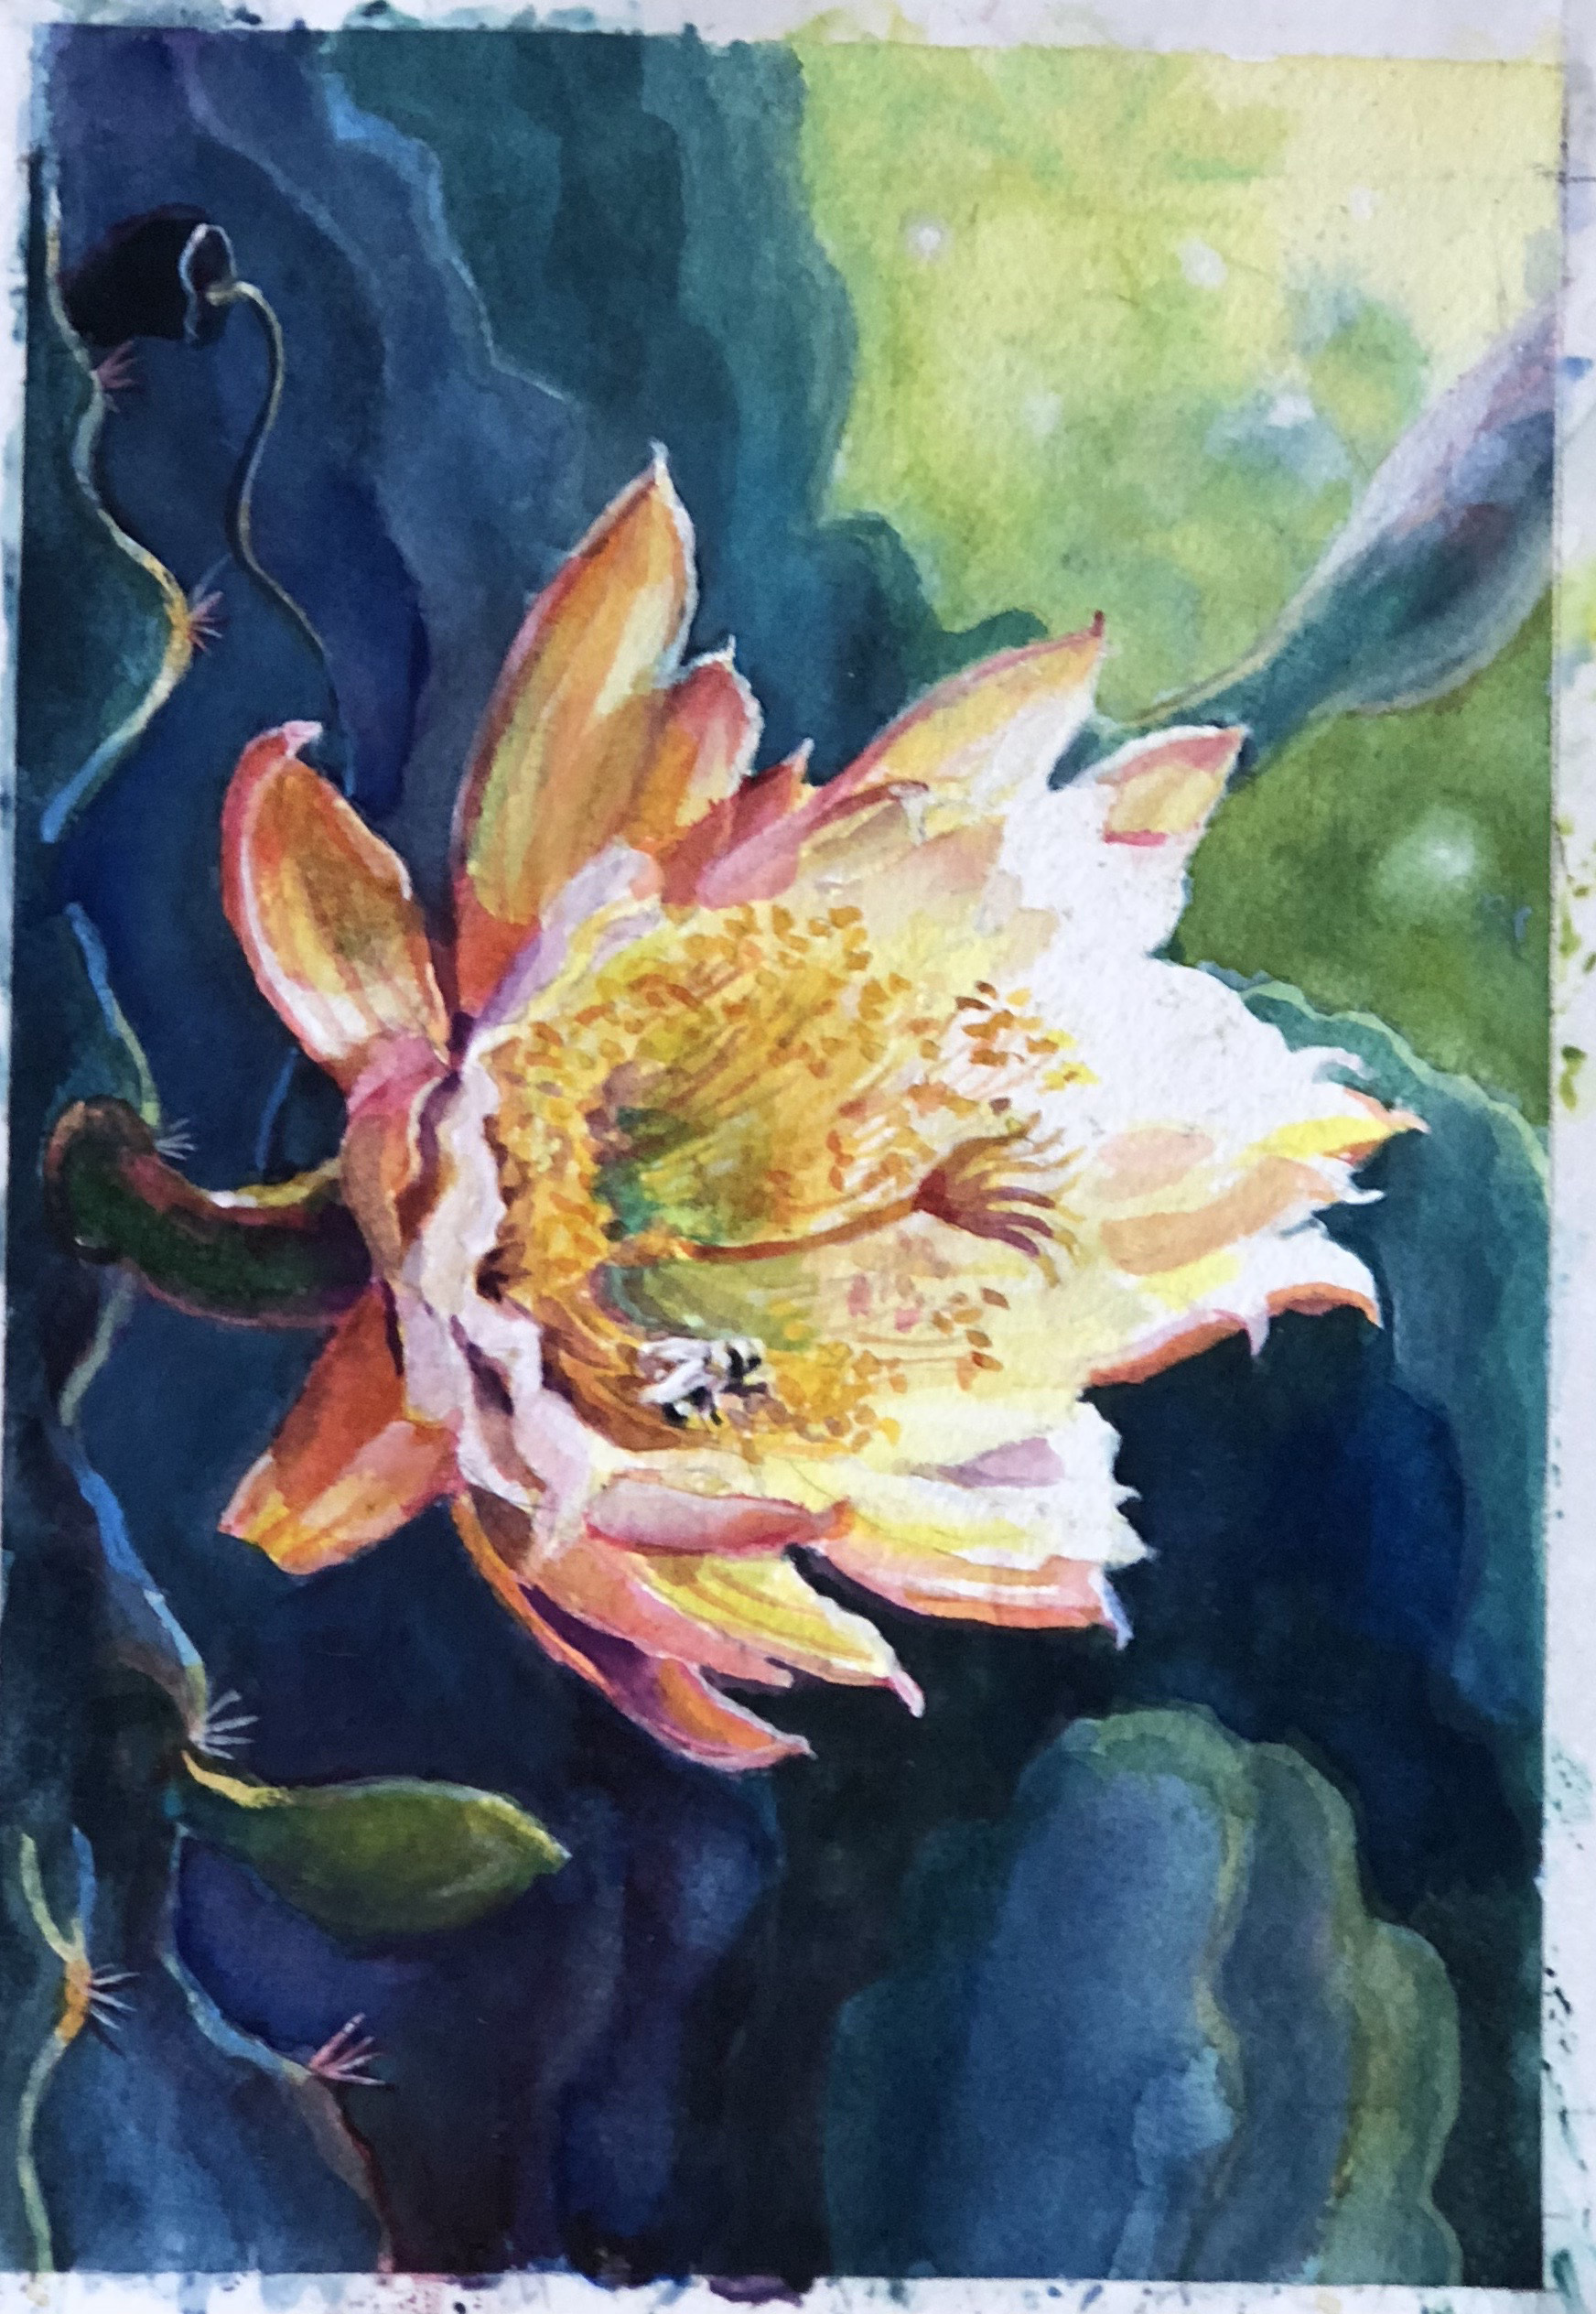
2. A small color study precedes the larger than life final watercolor. Here the bumblebee and a daylight setting do not have the dramatic punch that I want, so I make changes and move to a larger than life final sketch.
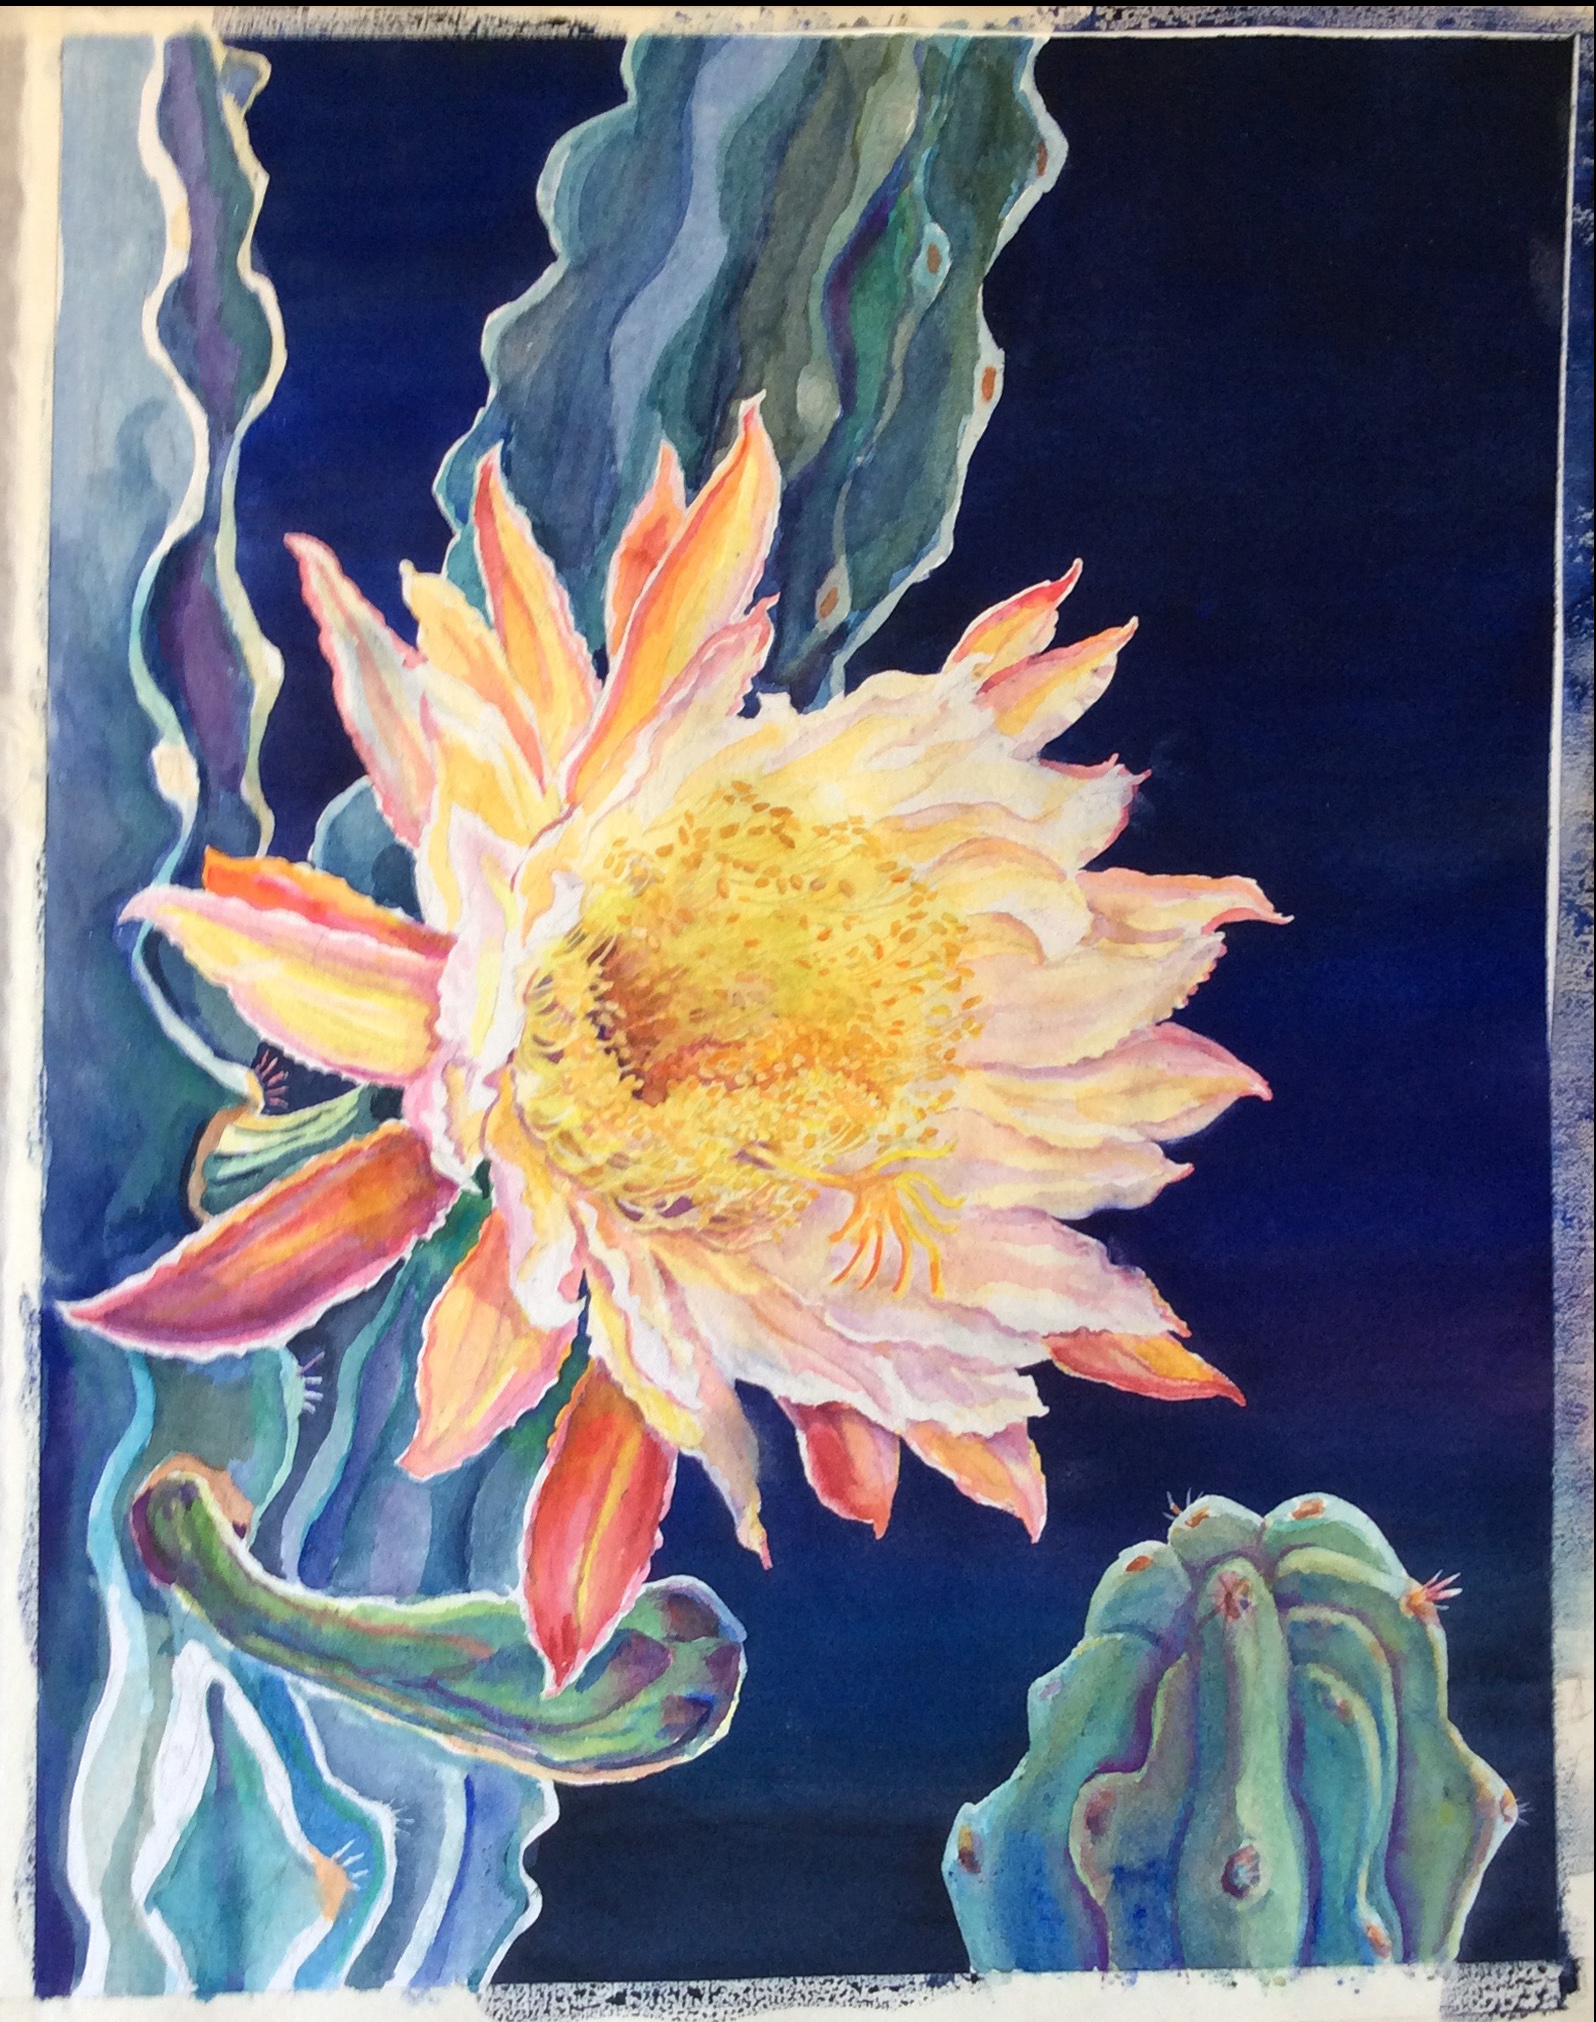
3. A very careful drawing, twice life size of the actual bloom , is transferred onto a sheet of rag watercolor paper, and then a mask is put around the sky area. The night sky is then layered in.
4. Transparent layers of color are gradually added to the flower petal and arms of the cactus.
5. We are almost done! I look at the large watercolor upside down and see that we are now ready to add the stars and move to completion!
The final product is at the top of the post!


